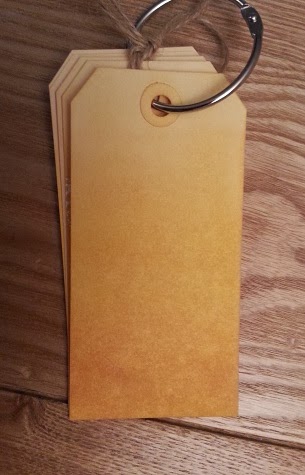
'Ombre' seems to be everywhere at the moment - cakes, hair, crafting! So for my recent meet up with craft pals (our once a year 'Craftathon') I chose the ombre technique as my make-and-take contribution. We had a hefty amount of crafting to fit into the day, so here's the tutorial for those that didn't get to finish off.....and anyone else that fancies having a go. I first learnt the technique from Craft Stamper magazine.
So this is the kind of thing you'll be producing.
You can choose any three (or more) Distress Inks of a similar colour palette. I chose yellows as they blended well with the manilla tag I used as a base.
I used:
- Scattered Straw
- Mustard Seed
- Wild Honey
- ...but you can of course use any inks as close or separate on the colour spectrum to achieve the particular effect you are after.
STEP 1: Decide where you want the darkest portion to be (in this case the bottom of the tag) and apply the lightest colour in circular motions, fading out as you get to the opposite end from where you started. I used Scattered Straw.
I chose not to take colour right to the end, but that was because of using yellow as already mentioned.
STEP 2: Take the next darkest colour (Mustard Seed in this case) and starting again from the same area which will be darkest on the finished tag, swipe in straight strokes about two thirds of the way along the tag.
STEP 3: Take your final colour which is the darkest hue (Wild Honey here) and again in straight strokes from that same starting point apply ink to about one third along the tag.
You now have a blocky, almost stripey effect. Don't worry, there's one more step.
STEP 4: Pick up your lightest colour again (Scattered Straw for this project) and go over the whole tag in circular motions to blend it fully.
Once you are happy with the blend you can go back in with the darker colours if you would like to. I put a little more Wild Honey on this one.
STEP 5: Lastly when it is completely dry (naturally or with a heat tool) you can stamp or heat emboss a focal design to finish the look. I used opaque white as I like the contrast it gives.


